#LGG
#LGG To Arranging Your Pantry
OCD style with IKEA
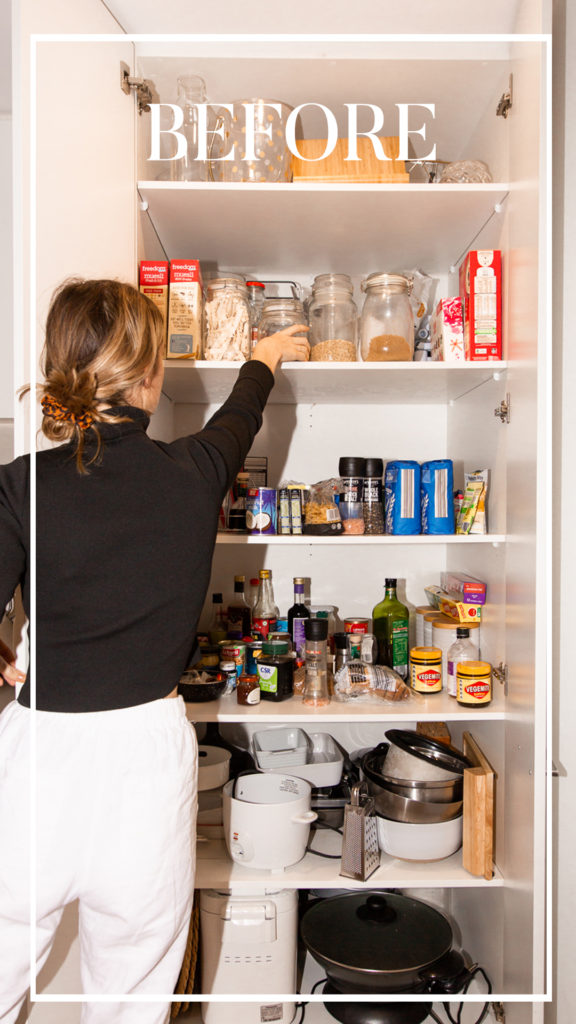
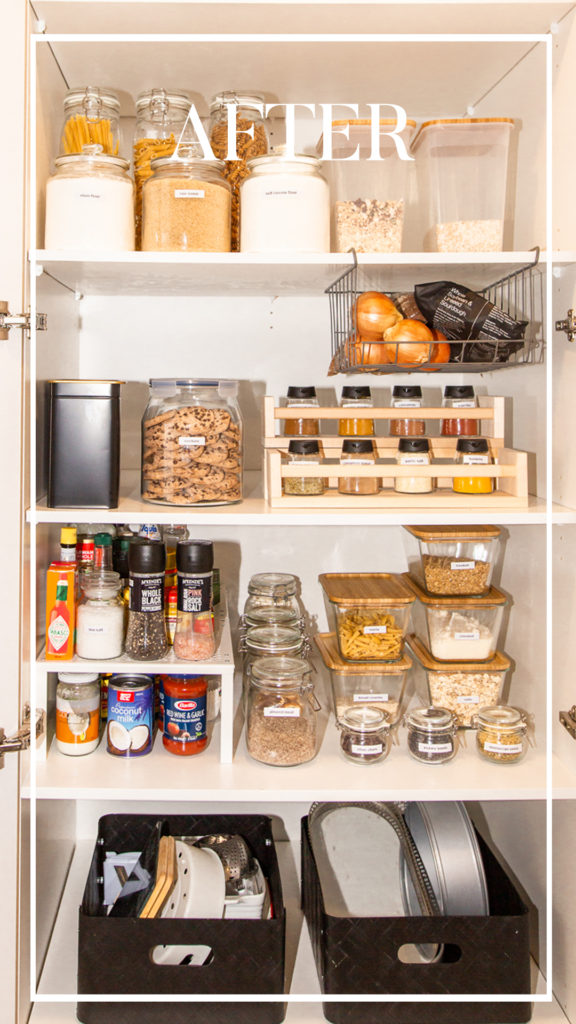
You might find yourself in the situation of having cleaned the house, folded the laundry, perhaps you’ve even tidied the storage cupboard in the spare room but is your home really in top-notch order unless you’re ready to tackle the OCD dream of arranging your kitchen pantry?
It’s a task most of us will NEVER get around to, but we urge you to please consider this article your guiding light because it is one of the most therapeutic activities you can add to your to-do list this month.
We partnered with IKEA Australia to create your #LGG – Lazy Girls Guide to arranging your kitchen pantry and we’ve done everything for you including your shopping list so you know exactly where you need to get started, tips on how to arrange it all PLUS the pièce de résistance of accessories to really polish this project off.
Let us set your OCD heart on fire and see how it’s done below.
Step One: GO BIG
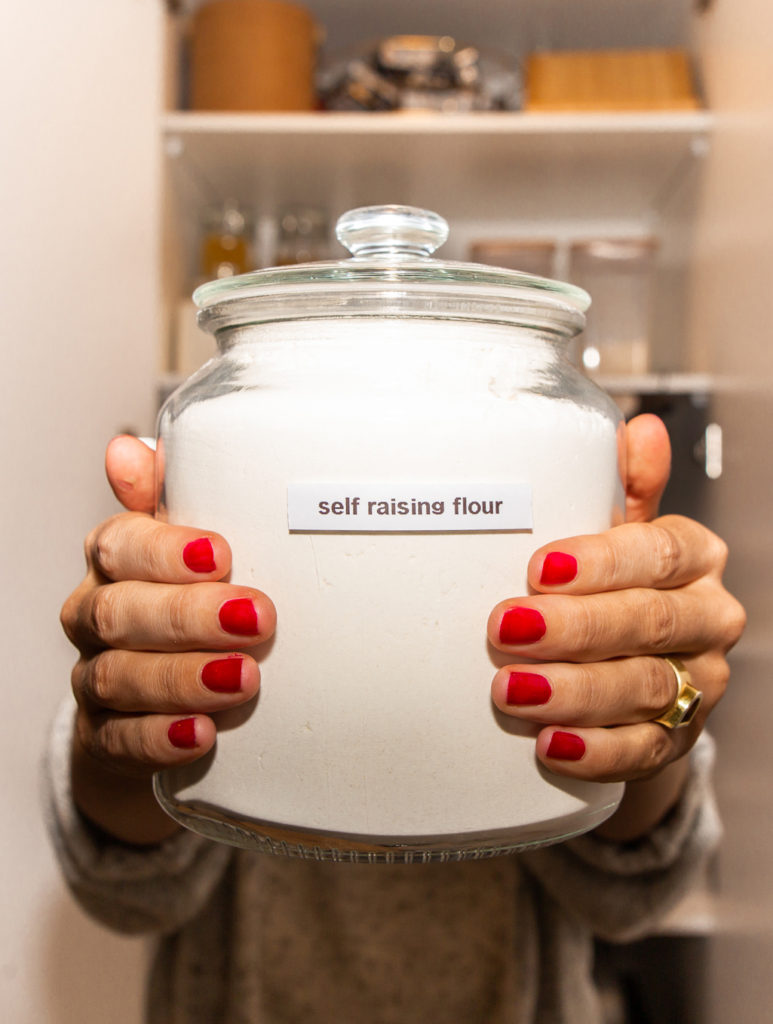
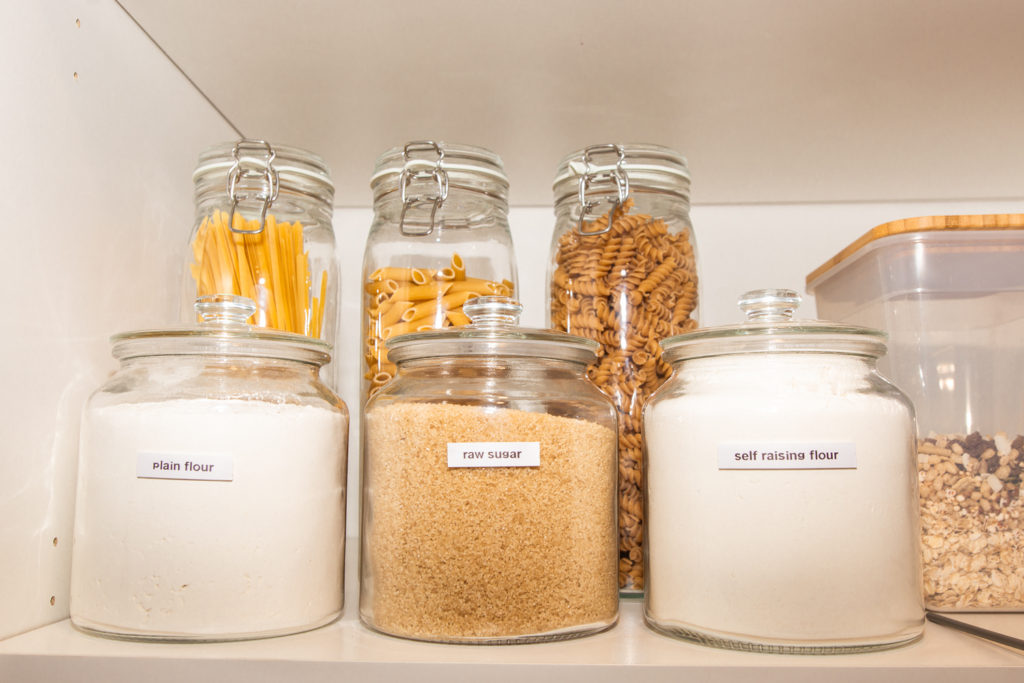
It is important to size up your needs, start by considering how many products you have that require volume and figure out how you’d like to store these. For example, if you like to bake you’re likely to need more large glass jars to house flour, sugar etc.
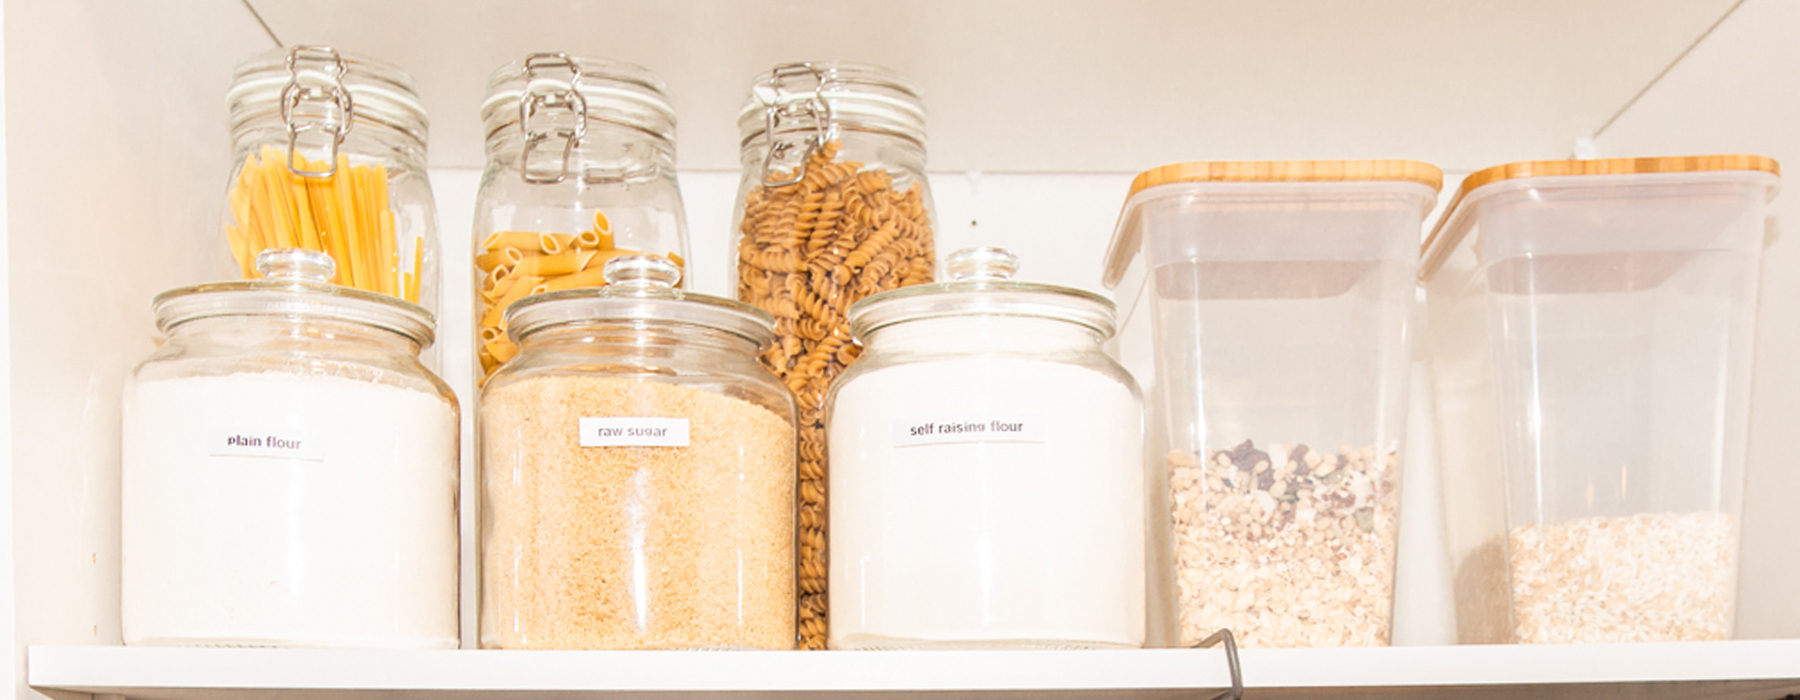
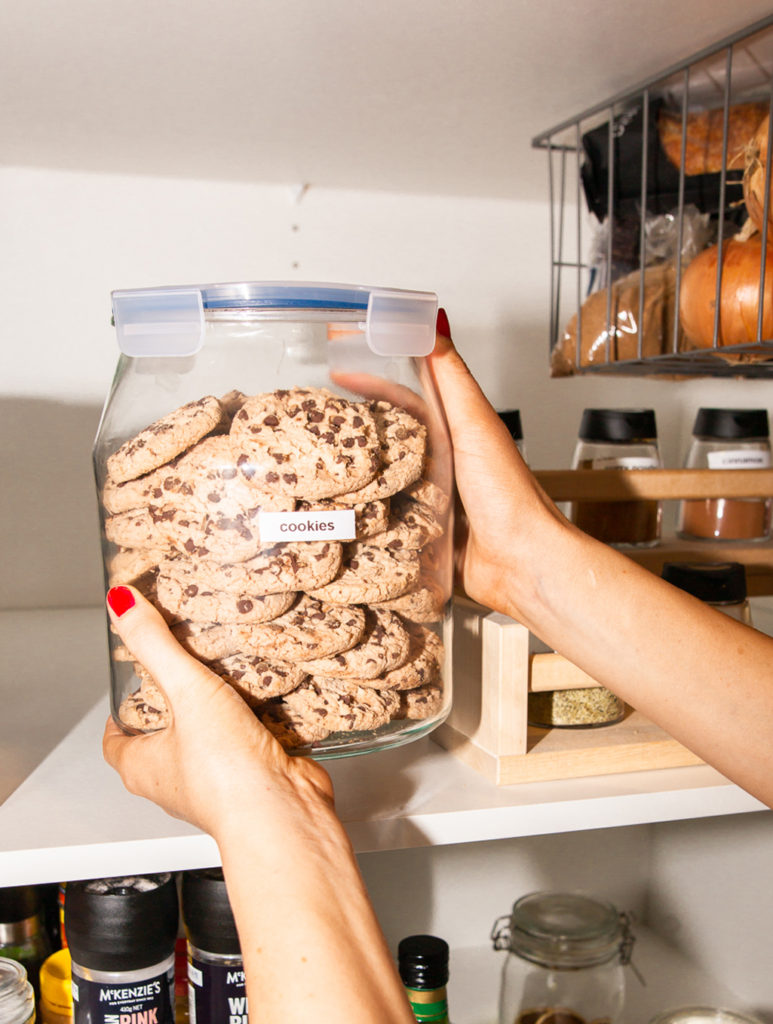
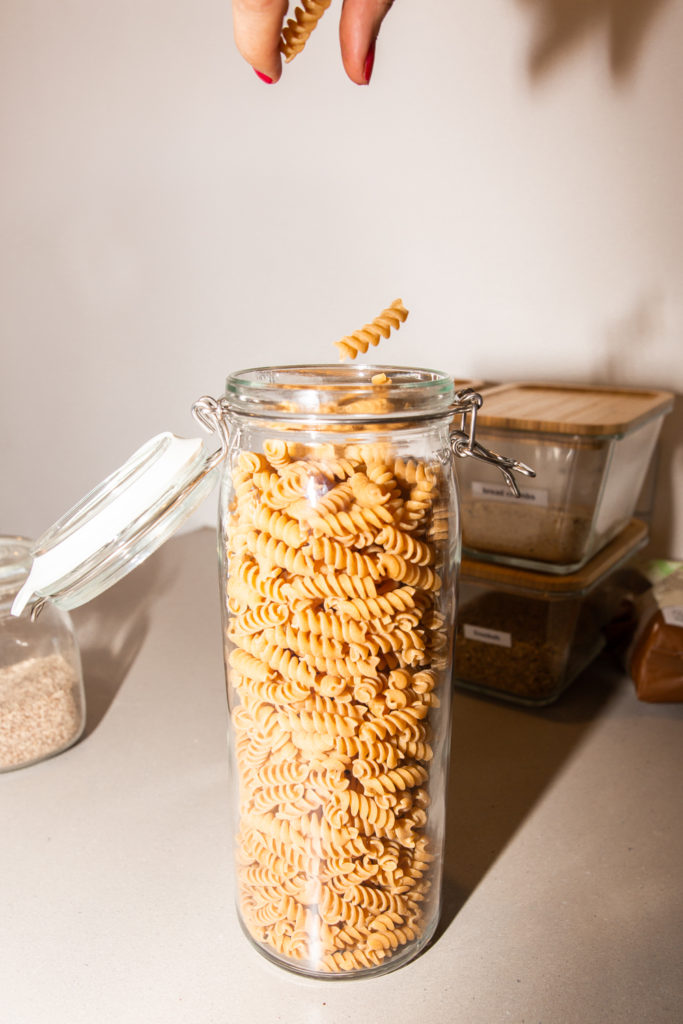
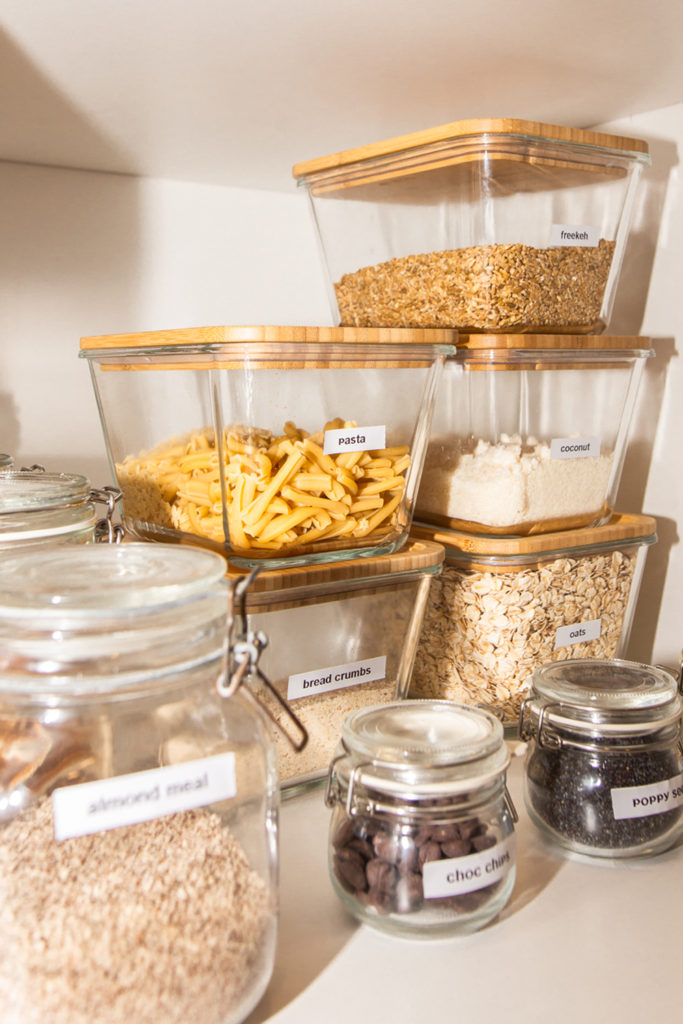
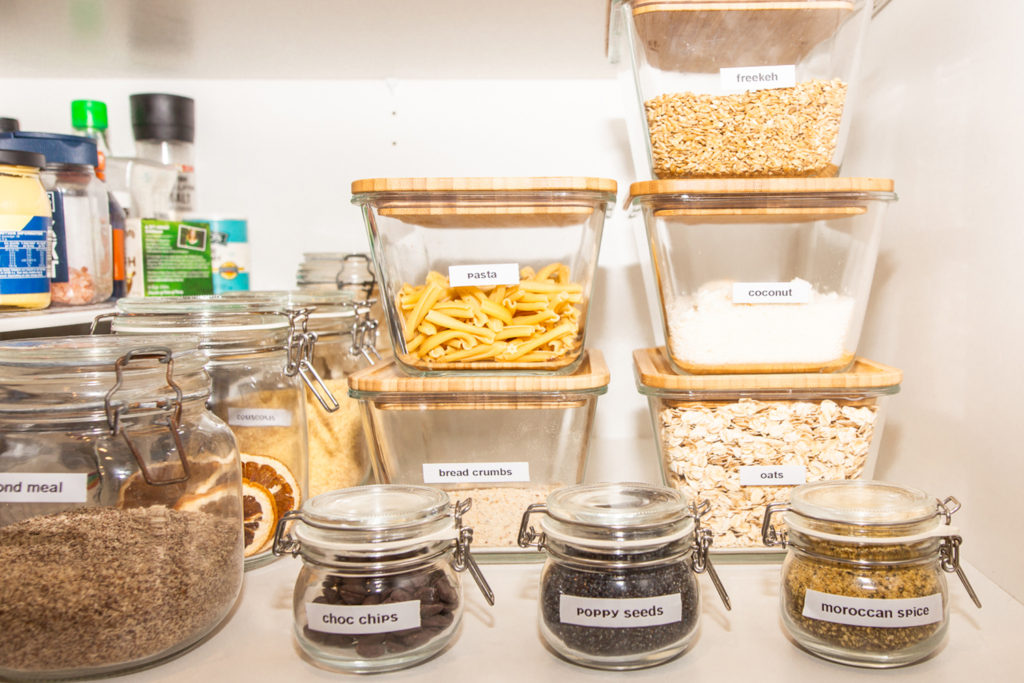
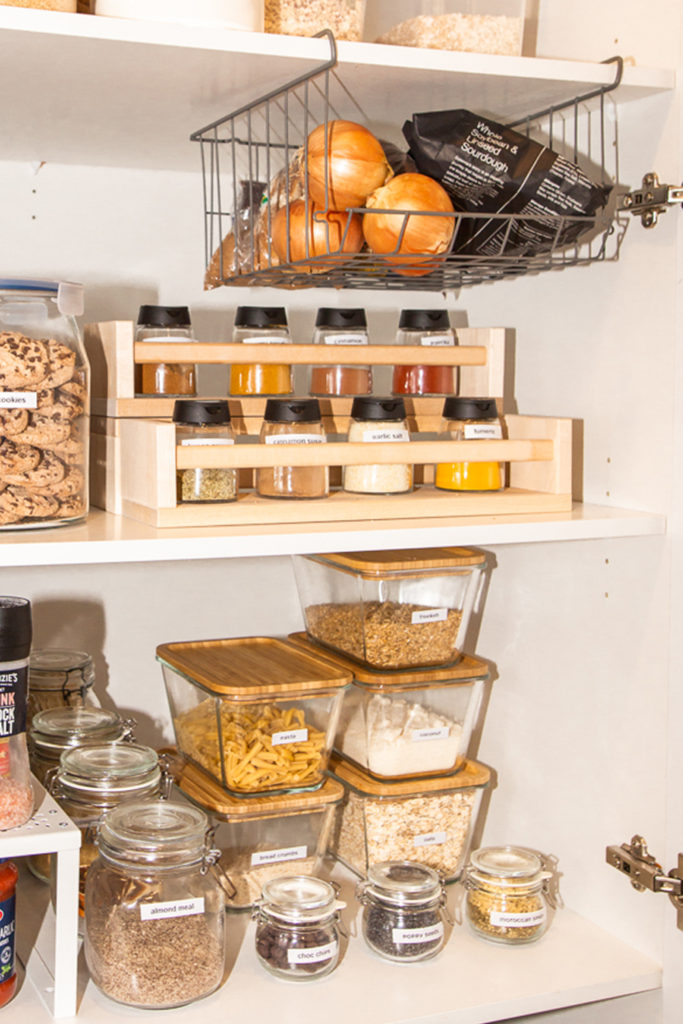
We recommend you start with the rule of 3 and scale up or down from there. We did this by buying 3 x each of the below 4 products from the KORKEN and IKEA 356+ range which gave a new home to all the dry ingredients that are mostly kept in volume in the pantry including pasta, flour, sugar.
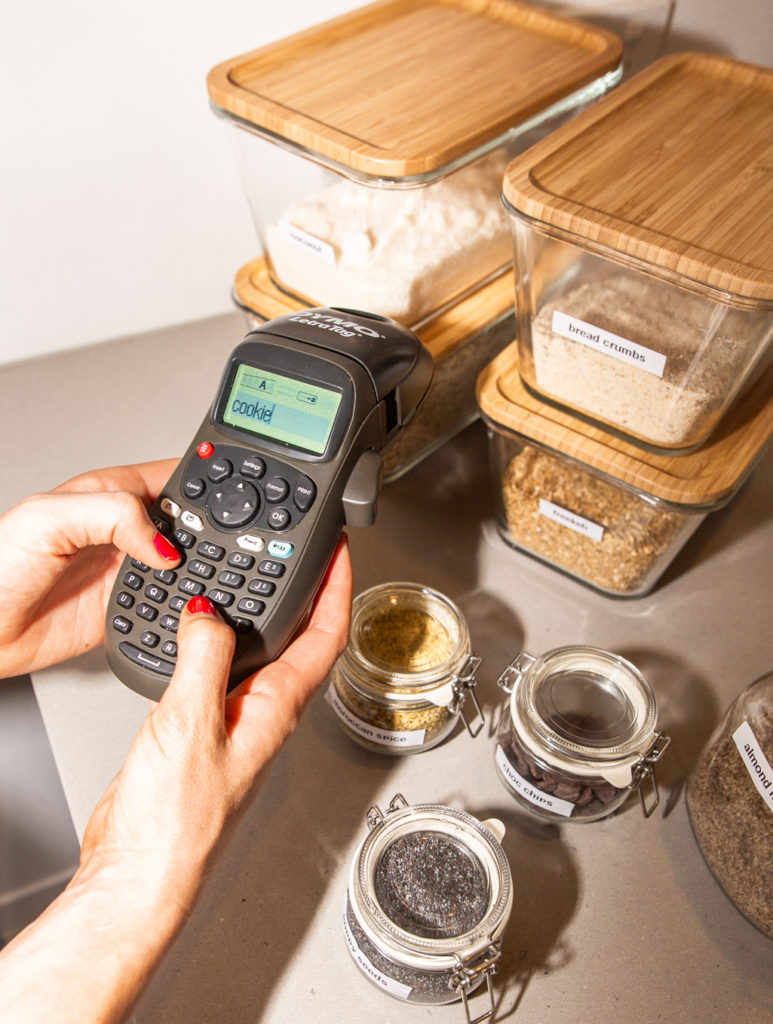
Everything has been labelled using this handheld label printer from Officeworks.
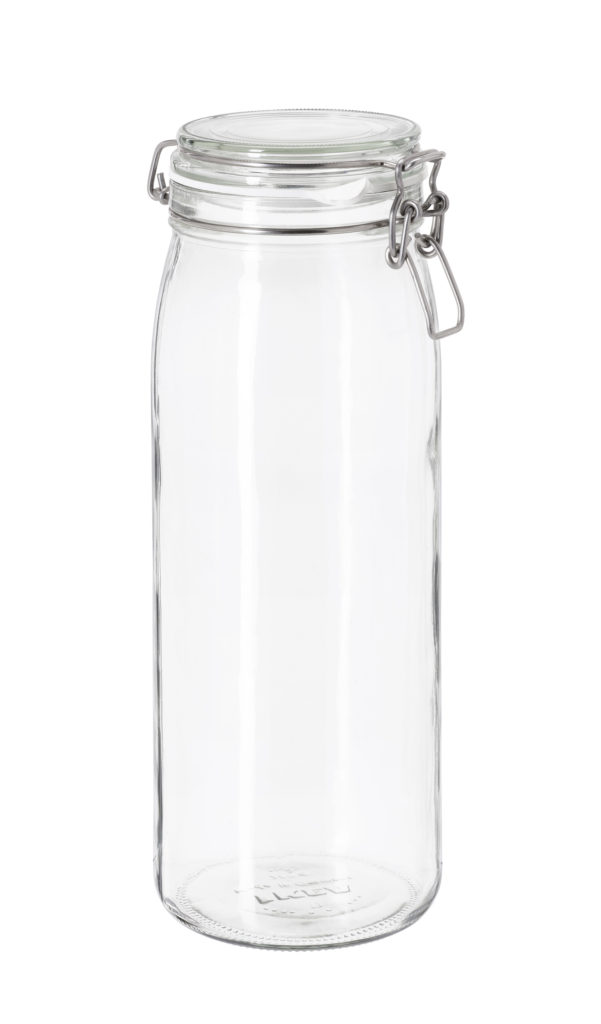
IKEA
KORKEN Glass jar 2L
$4.99
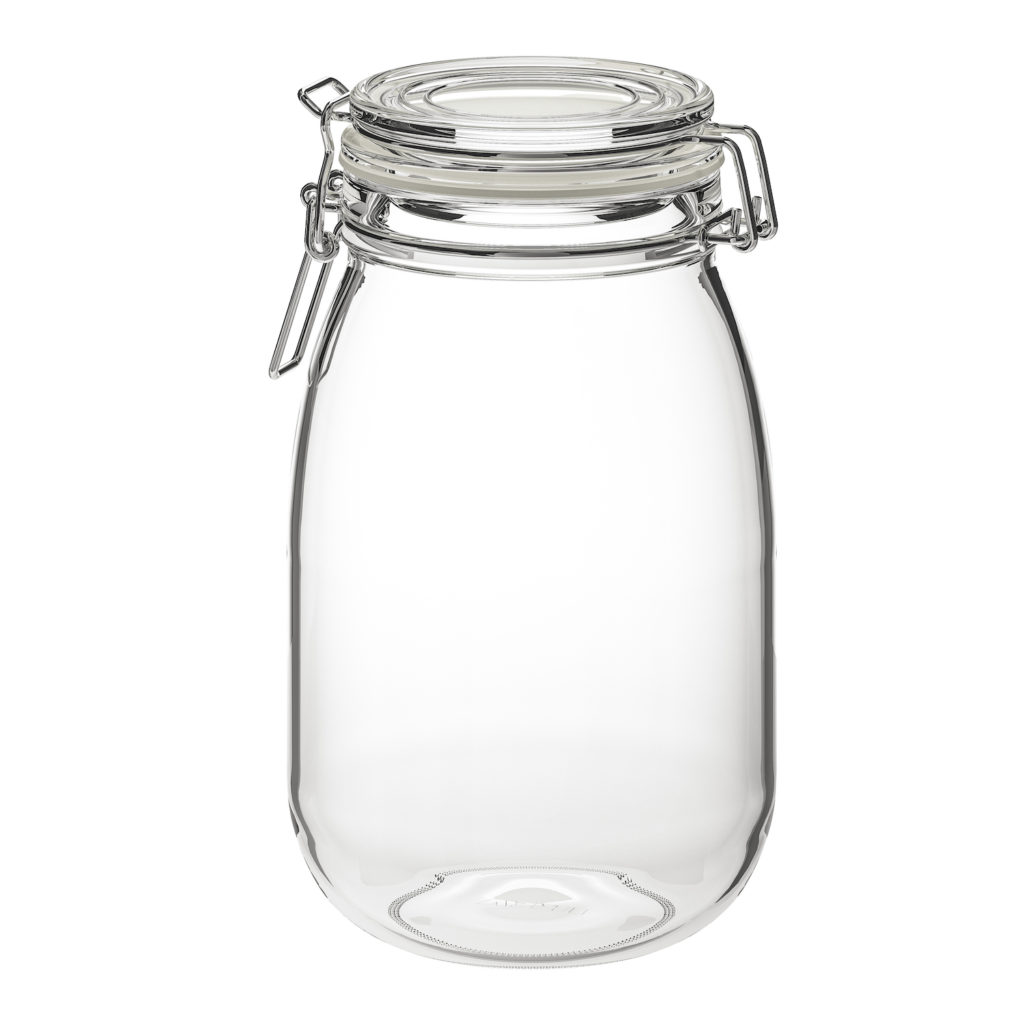
IKEA
KORKEN Glass jar 1.8L
$3.99
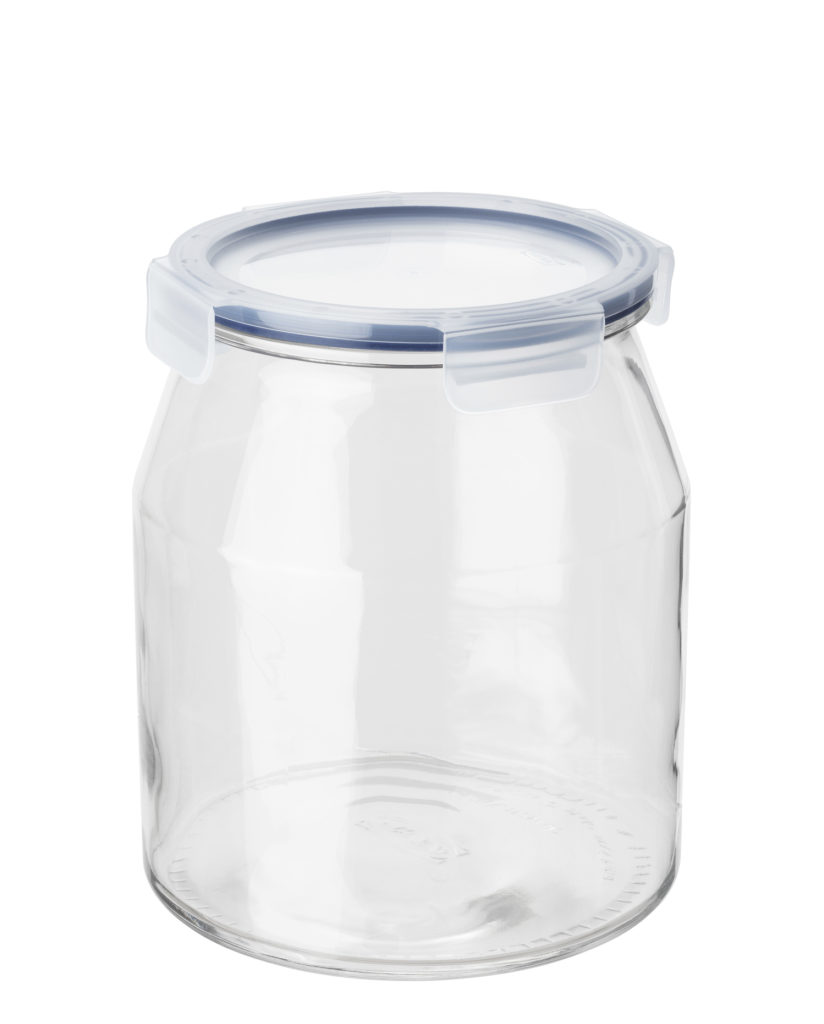
IKEA
IKEA 365+ Jar with lid 3.3L
$8.49
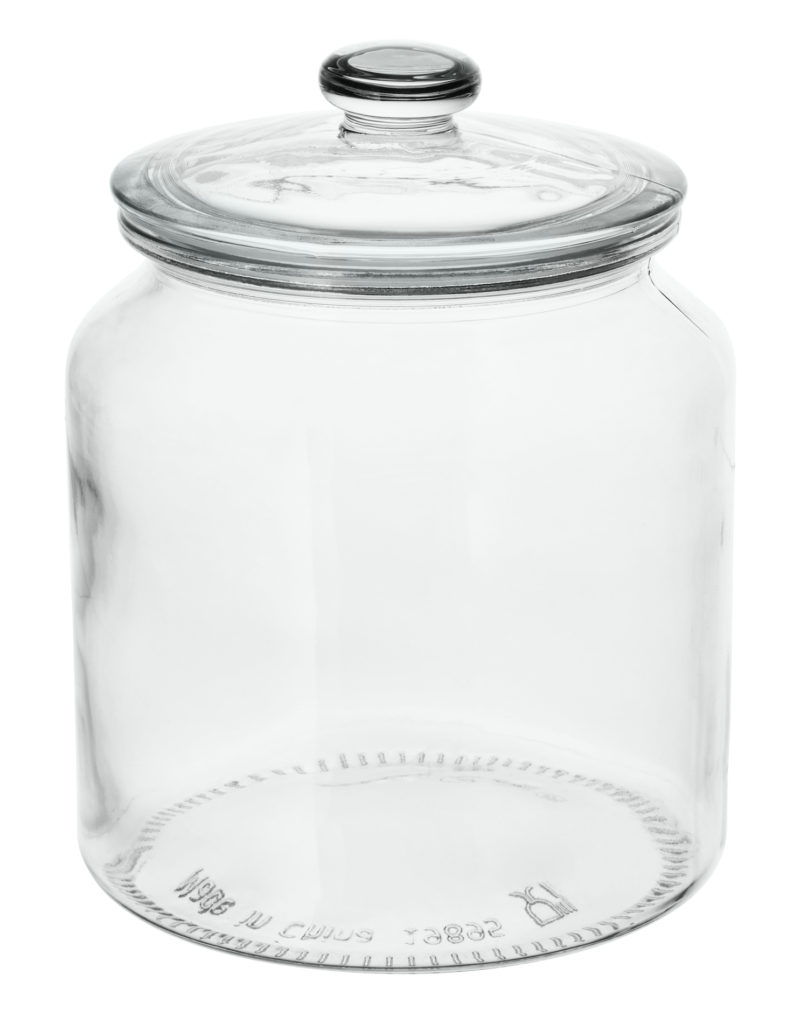
IKEA
KORKEN Glass jar 1.9L
$4.99
Step Two: Be Practical
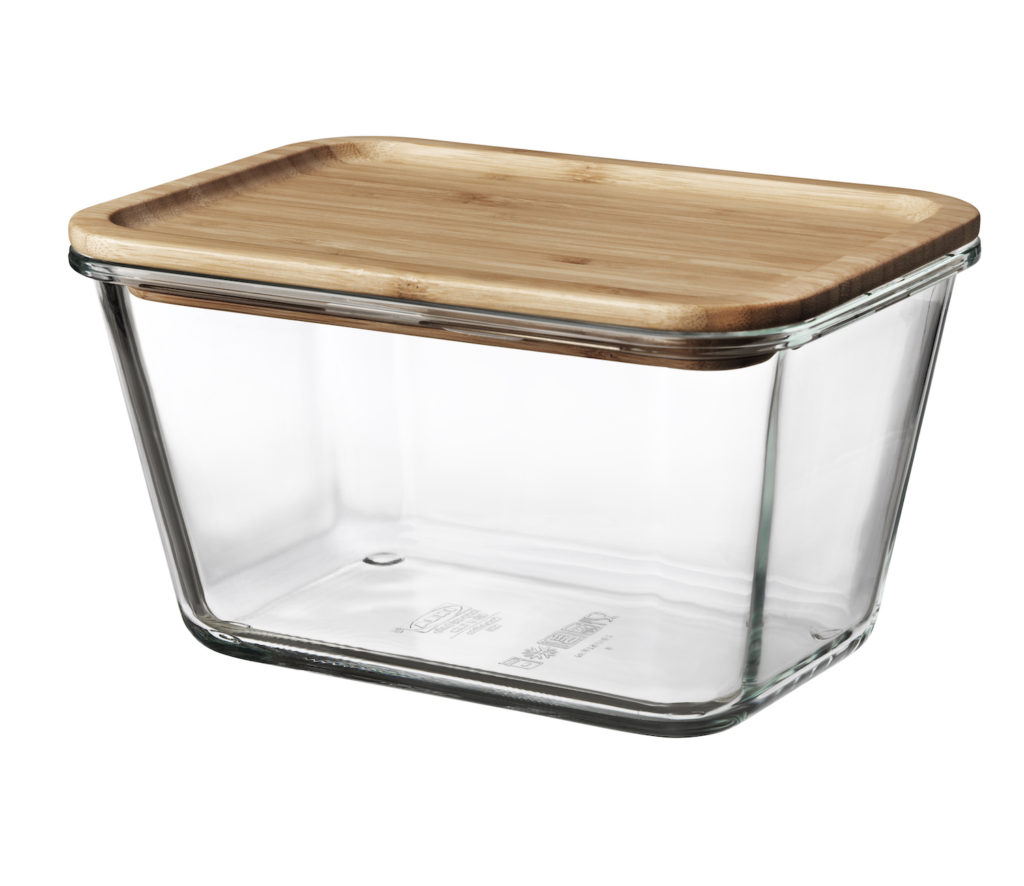
We learnt quickly there is a delicate balance required here when aiming for both aesthetics and convenience. So alongside your larger glass jars, we opted for the smaller IKEA 365+ Food Containers with Bamboo Lids at 1.8L capacity.
These seemed like the best option for stacking everyday items like oats, couscous, almond meal etc. This will be totally dependent on what your household eats but it’s a great mid-range option for dry ingredient storage and the bamboo lids give it a very refined look.
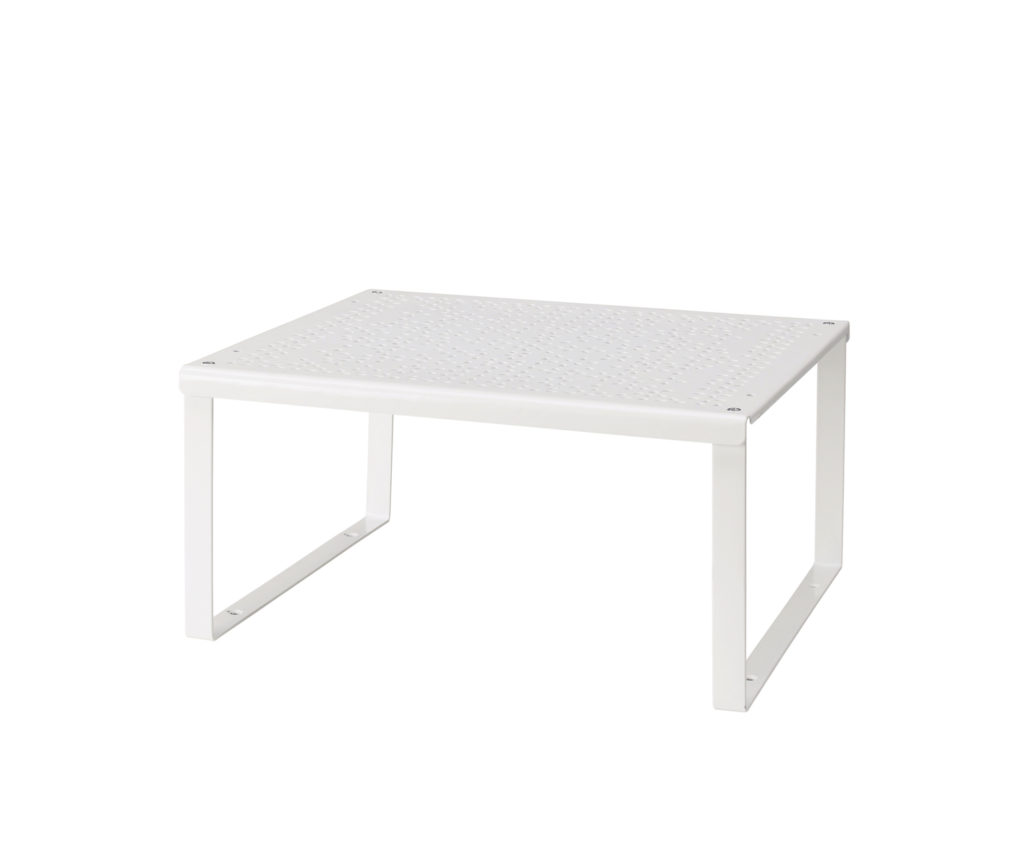
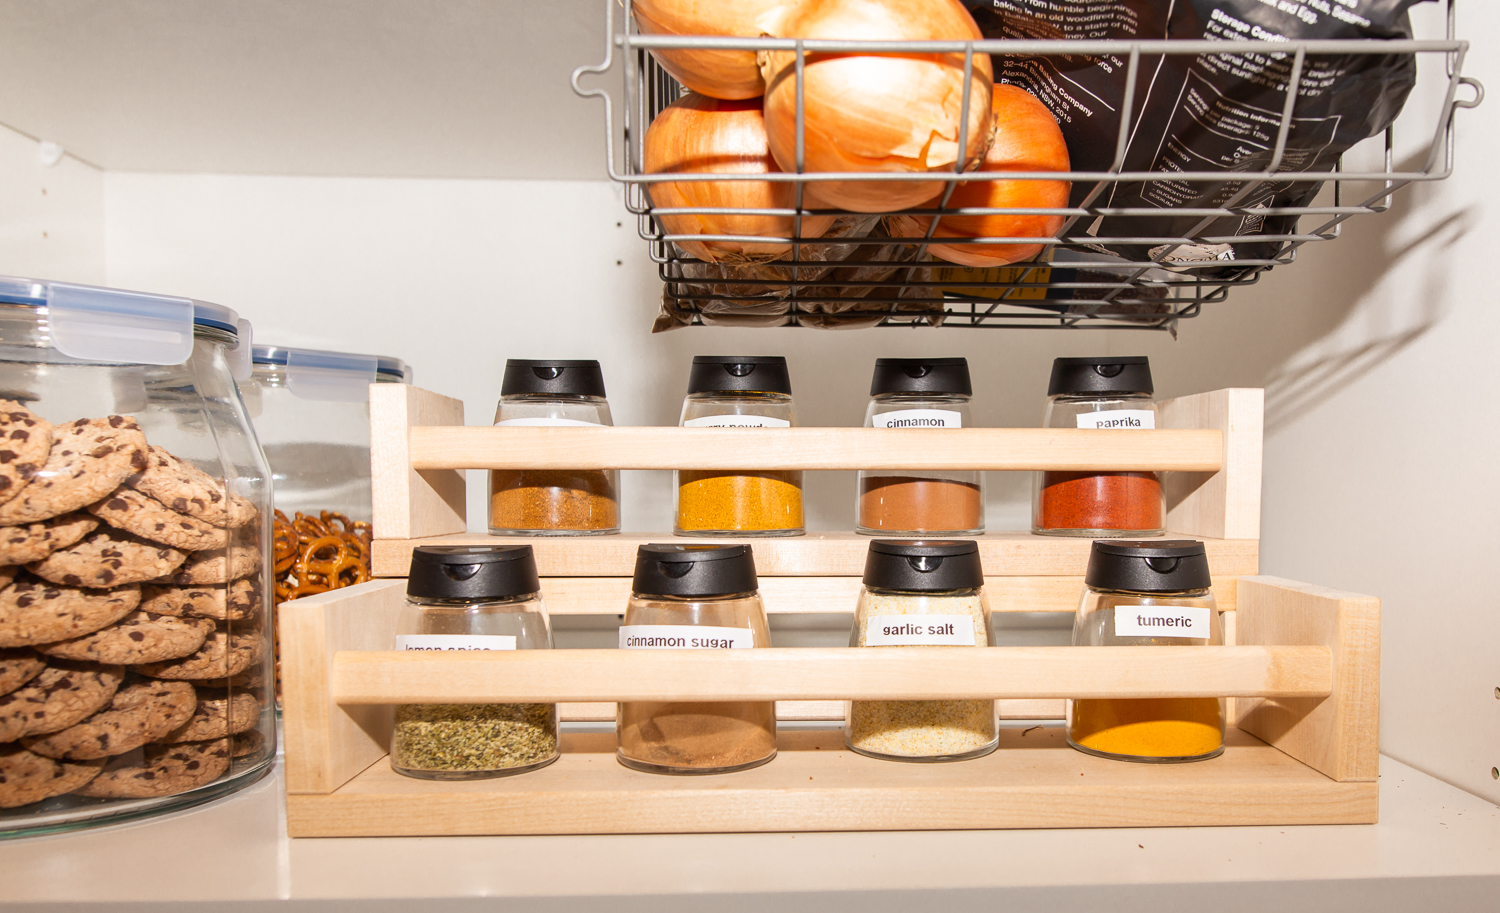
In addition to the obvious food storage options, we also wanted to utilise the height in the pantry, essentially doubling the storage space by using extra shelving. The VARIERA Shelf Inserts are perfect for this, we stacked two (one in front of the other) for canned food, salt, pepper, sauces and condiments.
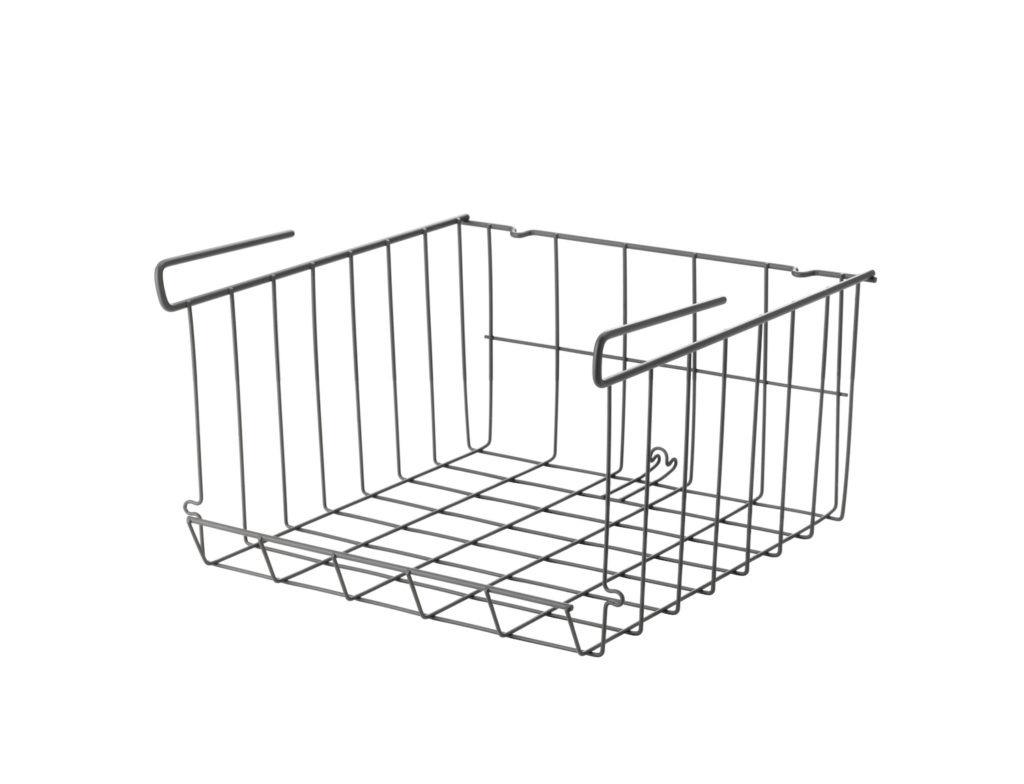
A special mention here to the OBSERVATÖR Clip-on Basket as this is a genius addition to the pantry and allows you to hold bread items up and out of the way.
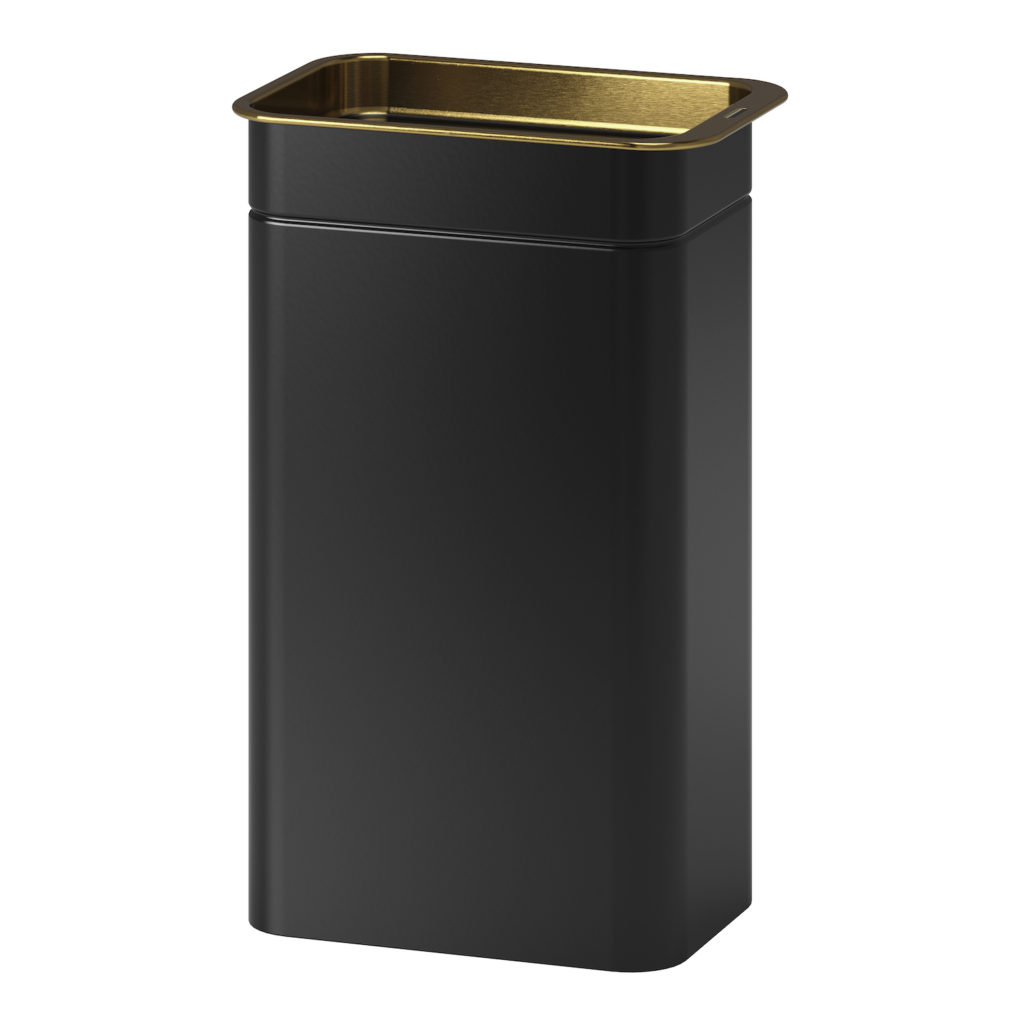
Again, in order to make use of the height between shelving, we added 3 x the BLOMNING Tea Tins to house tea and coffee. The matte black finish and bronzed lid were an elevated addition to the colour scheme.
IKEA
OBSERVATÖR Clip on basket
$4.99
IKEA
BLOMNING Tea tin
$3.99
IKEA
VARIERA shelf insert
$7.99
IKEA
IKEA 365+ container
$8.49
Step 3: Storage Doesn’t Stop There
Before deep-diving into this project, we realised there was a common misconception that storage has to stop with the food containers. There is a whole untapped world of spice racks, door clips and storage baskets that you can add to your range of containers that will really simplify your daily pantry hunt.
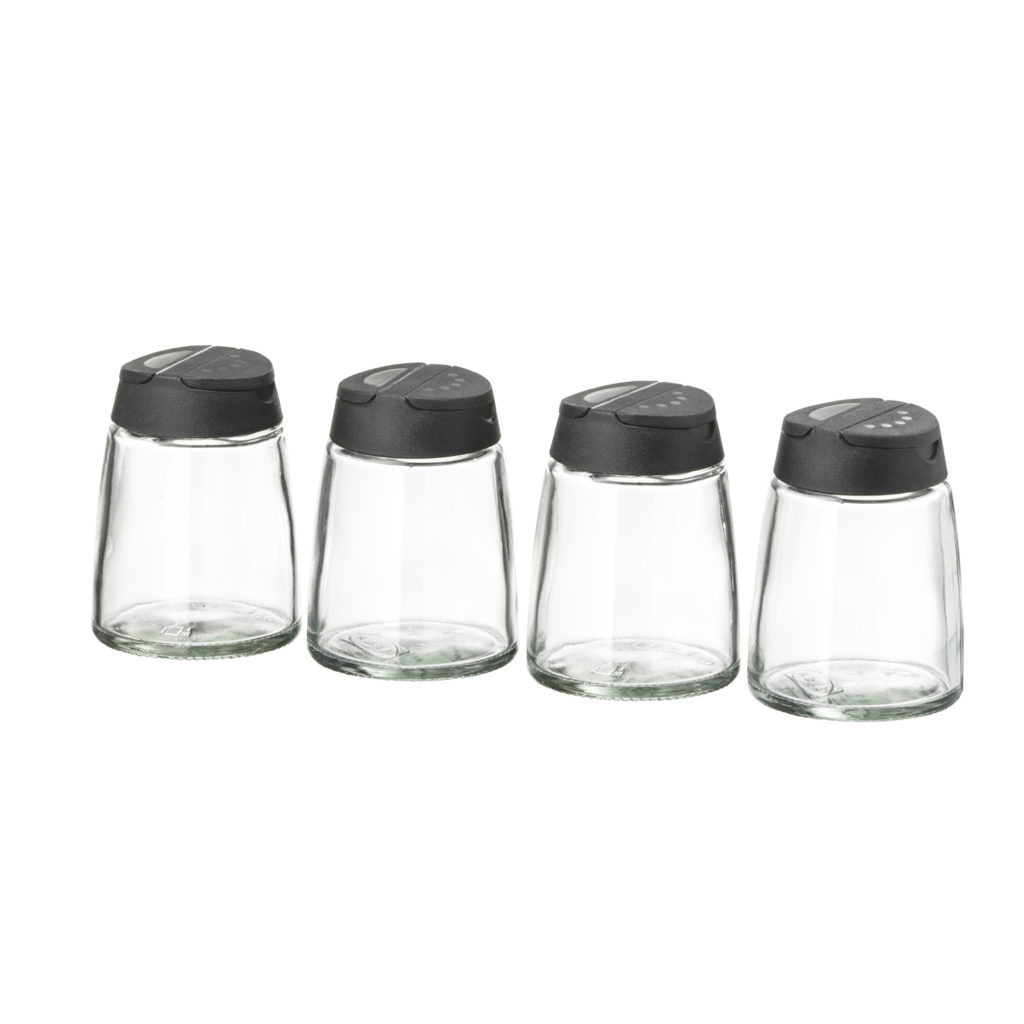
We added 3 of the BEKVÄM Spice Racks to our design and used one which we flipped over to give height, one to stack on top of the flipped one and one to display in front. This allowed us to display all our pantry spices which we labelled and repackaged into IKEA 365+ IHÄRDIG Spice Jars (we purchased 2 packs of these).
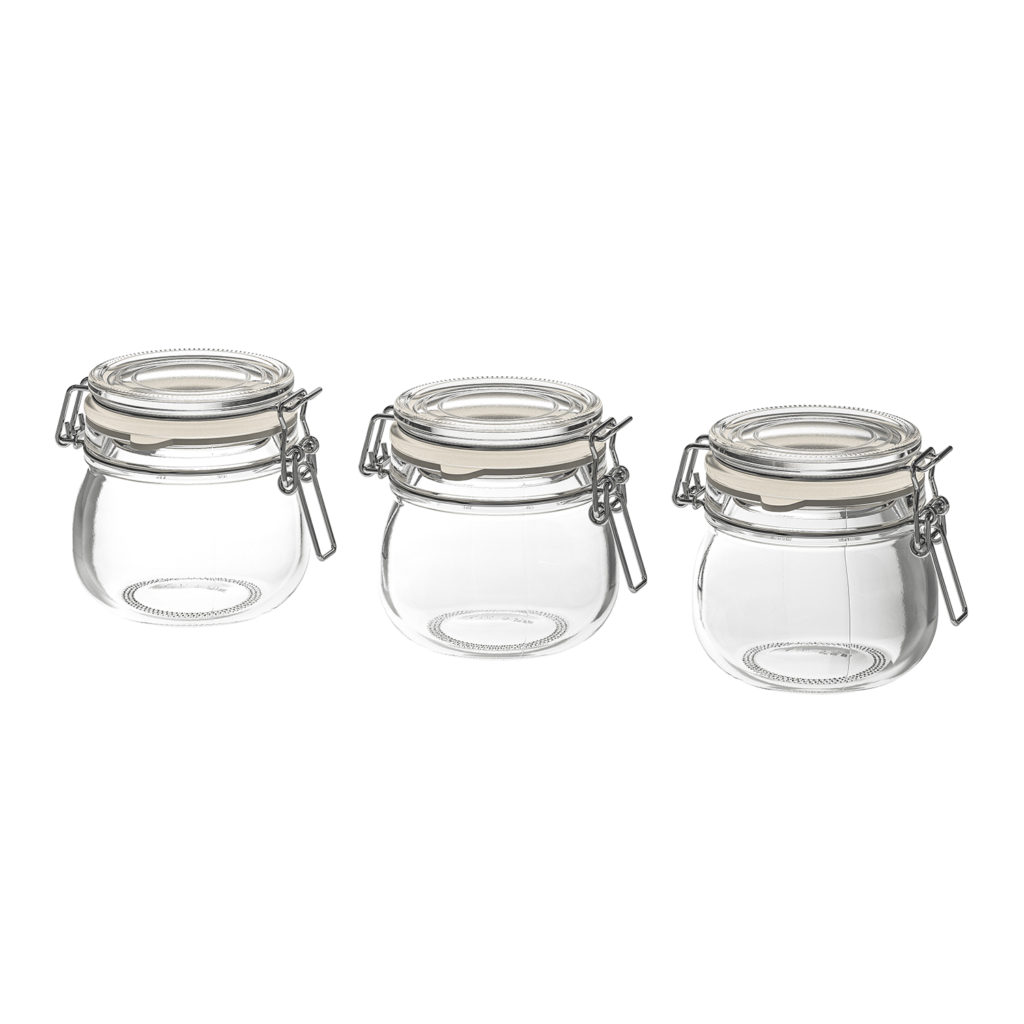
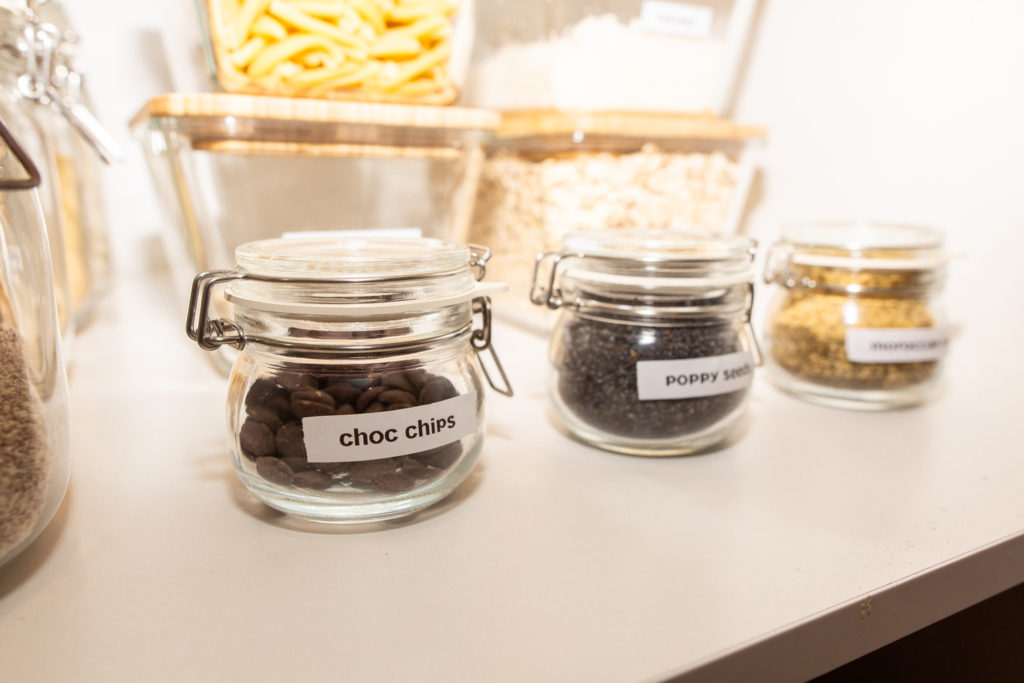
In between your spices and volume ingredients, there are those middle-range items that are always difficult to arrange like your taco spice mix or poppy seeds. We selected the small KORKEN Jars with Lid in a 3 pack to house these and arranged those at the front of the shelves for easy access.
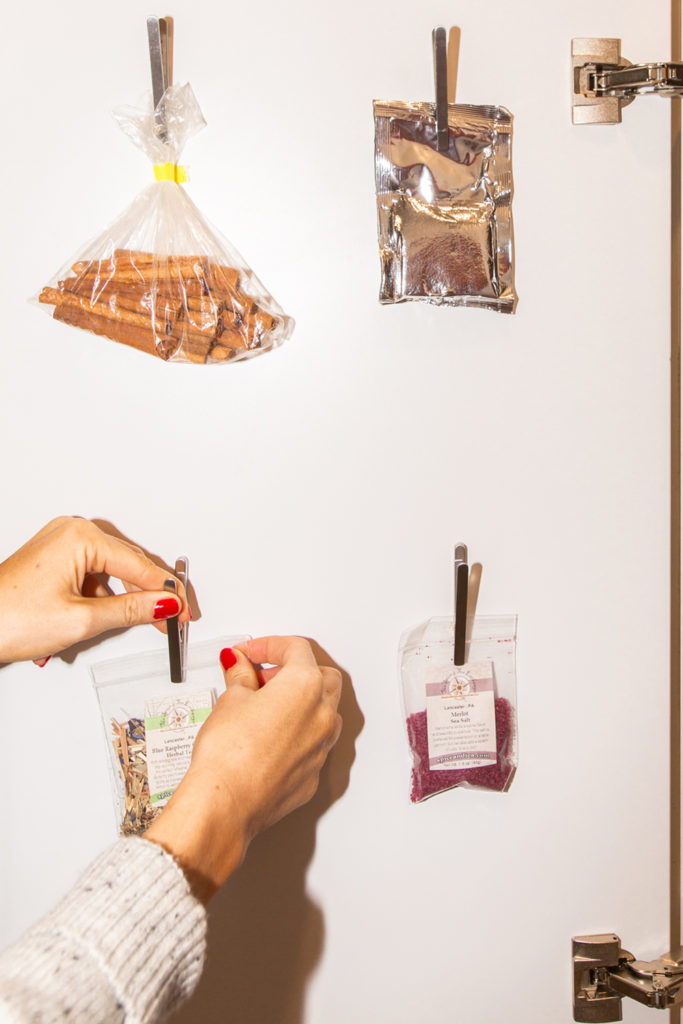
But the most impressive addition to our design would have to be the KUNGSFORS Magnetic Clips which we taped to the inside of the pantry door using double-sided tape. These clips were to hold small, opened packets of flavouring or tea satchels that never really found a home in your pantry in past.
Lastly, don’t forget that messy bottom shelf!
To finish off all our storage needs we added 2 of the BULLIG Boxes which we used to stack chopping boards, serving platters and any loose pantry items like your sieve and grater.
Read More #LGG
Read More From En Route
Shop It: Lunar New Year
Beauty , Lifestyle , Style
02/26
Where to Celebrate: Lunar New Year
Culture
02/26

Just In! Be In The Know Fridays
Culture
02/26
come En-Route with us
Sign-up for our newsletter.
By clicking "submit", you agree to receive emails from En-Route and accept our privacy and cookie policy.

